
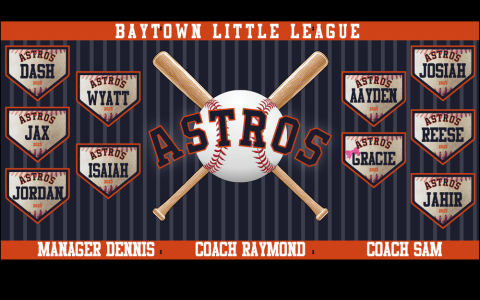
Okay, so the other day, I got this idea to make some all-star baseball banners. I saw some really cool ones online and thought, “Hey, I can totally do that!” So I decided to give it a try.
First, I gathered all my materials. I needed some fabric, you know, the kind you make banners out of. I picked out some bright colors, like red, blue, and yellow, because those just scream “baseball” to me. Then, I grabbed some paint, brushes, stencils, and all that jazz. I even found some glitter because who doesn’t love a little sparkle, right?
Next, I started sketching out some designs. I wanted something that looked professional but not too complicated. I drew some baseballs, bats, and stars. I even tried to write “All-Star” in a fancy font, but it looked more like “All-Slur” at first, so I practiced that a few times. After a bunch of rough drafts, I finally had a design I liked.
Then came the fun part – making the actual banner! I carefully cut the fabric into the right shape and size. Then, using my stencils, I painted the designs onto the fabric. It was a bit messy, but that’s half the fun, isn’t it? I added some extra details freehand, like stitching lines on the baseballs and some cool stripes. Oh, and of course, I sprinkled some glitter on the stars to make them really pop.
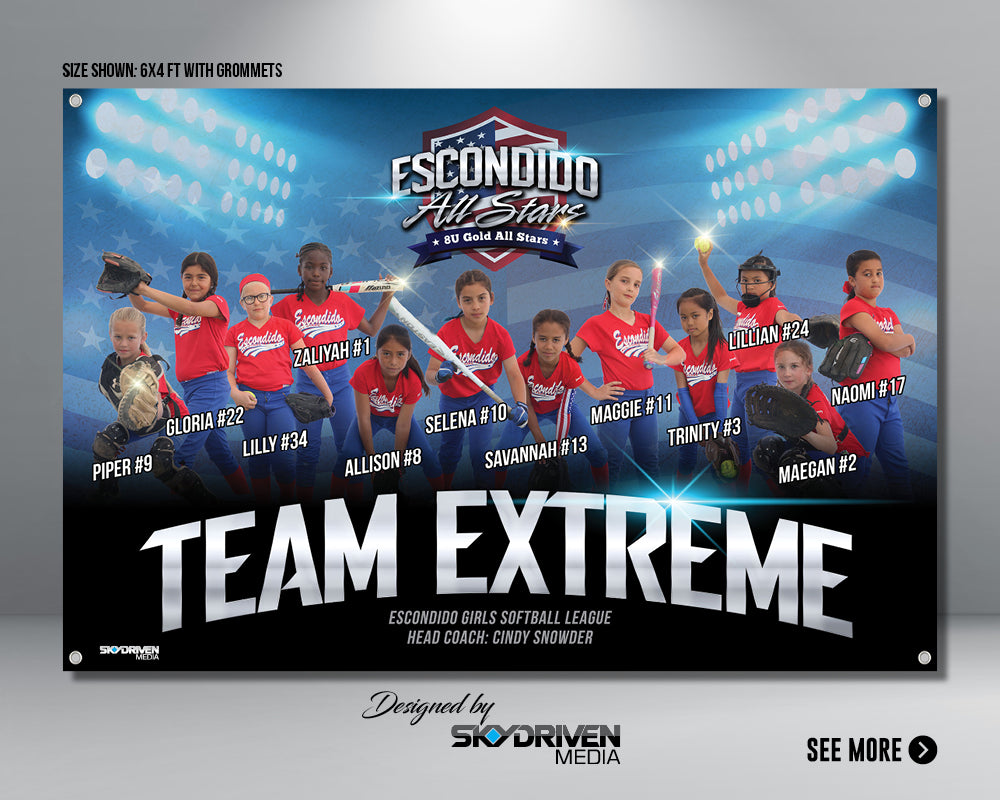
After the paint dried, I added some grommets to the corners so I could hang the banners up. I stepped back and admired my handiwork. They looked pretty darn good, if I do say so myself!
The Final Result
- Success: My all-star baseball banners turned out great!
- Fun: It was a super fun project, and I learned a lot.
- Share: I even made a few extra to give to my friends who have kids in little league. They loved them!
So yeah, that’s how I made my all-star baseball banners. It was a fun little DIY project, and I’m pretty proud of how they turned out. Maybe I’ll make some more for other sports teams, who knows!


